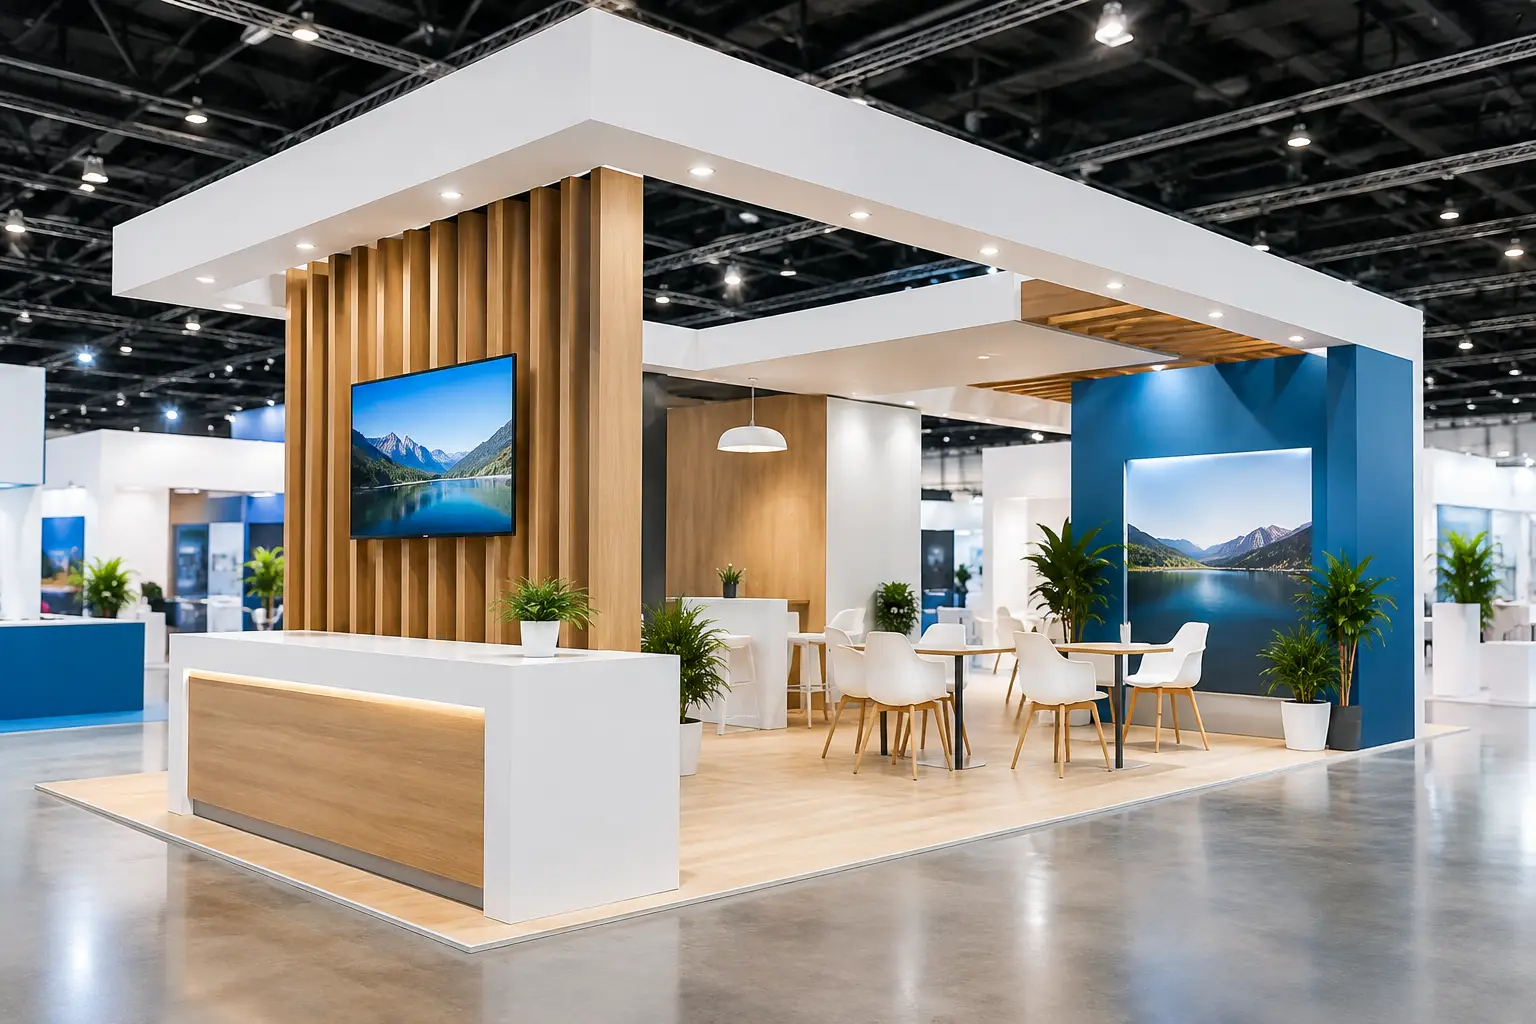

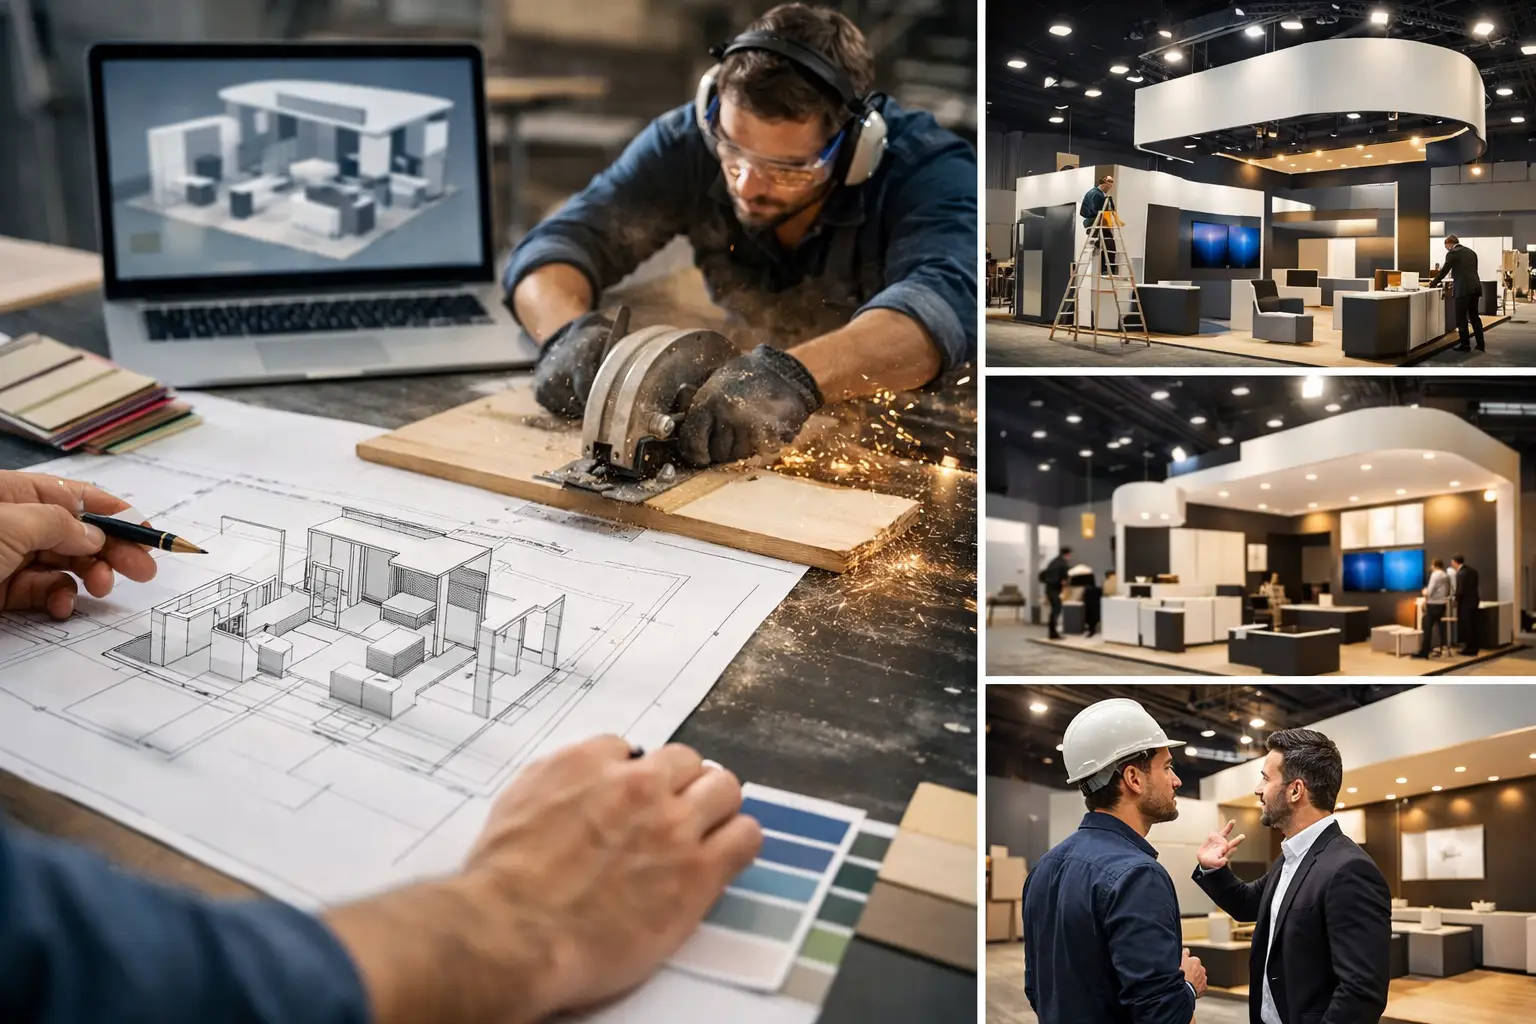

A striking exhibition stand can begin as a sketch, but it succeeds only when the booth fabrication process turns that idea into a safe, accurate, on-brand physical environment. For marketing teams, that transformation is where exhibition budgets are protected or quietly lost. The difference is not simply better carpentry or brighter graphics. It is a controlled sequence of design decisions, engineering checks, production planning, material selection, logistics, and on-site execution.
For a 30 sqm product showcase, a 100 sqm hospitality-led stand, or a double-decker structure, the process follows the same principle: resolve details early, build with discipline, and leave enough time for venue realities. Here is what a dependable fabrication journey should look like and what clients should expect at each stage.
The Booth Fabrication Process Starts Before Production
Fabrication should never begin with a vague visual or a last-minute floor plan. The first working stage is translating the exhibition brief into a buildable design package. This requires more than knowing the stand size. A capable design-and-build team will clarify visitor goals, product-display requirements, meeting-room needs, lead-capture plans, brand guidelines, storage needs, power loads, and show regulations.
A bold design is valuable only if it supports the commercial objective. A technology brand may need interactive demonstration areas and a large LED video wall. A pharma exhibitor may require privacy, regulated product presentation, and easy-to-clean finishes. An exporter at an international trade show may prioritize visible messaging, bilingual graphics, and a meeting space that feels credible to distributors.
At this point, the 3D concept provides a realistic view of the visitor experience, but it should also be challenged from an operational perspective. Can the structure be transported efficiently? Does the ceiling height meet the venue’s rules? Is the reception desk positioned to welcome traffic without blocking entry? Are there enough concealed storage and power points for the team to operate comfortably through a long show day?
These questions are not limitations on creativity. They are what make creative ideas deliverable.
Design Approval and Technical Drawings
Once the concept is approved, the project moves into detailed working drawings. These drawings define exact dimensions, wall elevations, joinery details, electrical layouts, lighting positions, flooring levels, hanging points, and graphic sizes. They are also used for venue submissions, particularly when a stand includes height elements, suspended signage, enclosed rooms, or a double-decker level.
This stage deserves close attention from both the exhibitor and the contractor. A late request to enlarge a product plinth, add a private meeting room, or reposition a screen can affect materials, wiring, approvals, and production time. Minor changes are normal. Major changes after fabrication has started create cost exposure and can compromise schedules.
The best approach is to appoint one client-side decision-maker who can consolidate feedback. It prevents competing instructions and gives the fabrication team a clear approval path.
Material Selection Balances Impact, Budget, and Reuse
The materials chosen for a stand shape how it looks, how long it takes to build, and whether elements can be reused at future events. Custom booths commonly combine timber or modular wall systems, metal fabrication, acrylic, laminates, fabric, vinyl, printed panels, LED lighting, and audiovisual hardware. The right mix depends on the design, the venue, and the exhibiting calendar.
Timber joinery allows for highly tailored forms, premium finishes, and integrated details. It is often the right choice for flagship booths, hospitality spaces, and brand environments where finish quality is central to perception. Modular systems can be faster to assemble and easier to reconfigure, making them useful for repeat exhibitors or time-sensitive projects. Neither option is automatically better. The decision depends on expected reuse, budget priorities, shipping distance, and the level of customization required.
Sustainability should be addressed in practical terms. Reusable structural elements, refurbished furniture, recyclable graphics where appropriate, efficient packing, and material repurposing can reduce waste without making the stand feel temporary. The strongest sustainable choices are planned during design, not added as an afterthought when the booth is already in production.
Mock-Ups and Finish Checks
Premium stands are judged at close range. A sample of laminate, paint finish, printed graphic, acrylic logo, or illuminated letter can look different under exhibition lighting than it does in a presentation. For high-visibility features, a mock-up or material sample helps prevent surprises.
Quality control at this point includes checking brand colors, graphic resolution, edge finishing, joinery alignment, and the consistency of surfaces across the stand. A display wall may look impressive in a rendering, but visible seams, uneven paint, or poorly fitted panels can weaken the brand impression on the show floor.
Workshop Fabrication Is Where Details Become Physical
With drawings released and materials confirmed, fabrication moves into the workshop. Carpenters, metalworkers, painters, electricians, graphic specialists, and project managers work against a production schedule tied directly to the show’s move-in deadline.
The booth is typically manufactured in sections rather than as one complete structure. Walls, counters, storage units, ceiling features, product displays, and branded elements are built, finished, labeled, and packed for transport. This sectional approach makes loading, shipping, and on-site assembly more efficient while allowing individual components to be inspected before they leave the workshop.
A disciplined workshop process includes several checks. Measurements are verified against approved drawings. Electrical routing is tested before panels are closed. Graphics are reviewed against final artwork files. Hardware and accessories are counted. Every component is labeled according to its position in the stand so installers can work efficiently under venue time pressure.
For complex booths, pre-assembly is especially valuable. Building key sections in advance confirms that curved walls align, illuminated logos fit their backing structures, counters sit at the intended height, and audiovisual equipment has adequate ventilation and access. It is far less costly to solve an alignment issue in the workshop than during a midnight installation at the venue.
Logistics and Venue Coordination Protect the Timeline
A finished stand is not ready until it reaches the venue, clears site requirements, and is installed safely. Logistics planning covers transport, loading schedules, access routes, labor passes, forklift requirements, customs documentation for international events, and coordination with official service providers.
This is where exhibition experience matters. A venue may limit delivery windows, restrict heavy vehicle access, require specific flooring protection, or impose rules on waste removal and working hours. In cities with major international exhibition calendars, such as Dubai, Las Vegas, Chicago, Mumbai, and Riyadh, move-in periods can be crowded and unforgiving. A missed slot can create extra labor costs and reduce valuable installation time.
Clients should receive a clear schedule showing when final artwork is due, when fabrication begins, when the stand ships, when installation starts, and when handover is expected. The schedule should also identify dependencies, such as venue approvals, electrical orders, internet connections, rigging permissions, or product deliveries.
On-Site Installation Requires Calm Control
On the show floor, installation teams assemble the structure, lay flooring, install lighting, mount graphics, position furniture, connect screens, and complete finishing touches. The goal is not merely to complete the build. It is to hand over a stand that is clean, functional, safe, and ready for staff training or product placement.
A final quality walk-through should cover visual finish, lighting levels, electrical points, screen content, furniture condition, storage access, lockable areas, and cleaning. If the stand includes a pantry, meeting room, or live demonstration zone, test it as the exhibitor will use it. Small operational details matter: Does the door close properly? Can staff reach the power outlet? Is the product display stable? Is the reception area free of cable clutter?
LemonTree Exhibitions manages this work in-house, from 3D concept and workshop fabrication through logistics, installation, and dismantling. That control reduces handoffs and gives clients a clearer line of accountability when timing is tight.
Dismantling and Reuse Should Be Planned Upfront
Dismantling is often treated as the end of the job, but it is also the beginning of the next exhibition. A professional team removes the stand safely, segregates reusable components, protects assets for storage or transport, and follows venue waste procedures.
If a company exhibits several times a year, reusable counters, structures, lighting, furniture, or branded elements can be cataloged and adapted for future booths. This approach may lower future production costs, but only if those items were designed for reuse and maintained properly. Reusing every element is not always the right decision, especially when a campaign, product portfolio, or booth footprint changes significantly. The smart objective is purposeful reuse, not repetition.
The best booth fabrication process gives your team confidence long before opening day. When design ambition is matched by precise production, reliable logistics, and detail-oriented installation, the stand becomes what it should be: a credible sales environment built to earn attention and support real conversations.