

A successful booth rarely begins with a striking visual. It begins with enough time to make the right decisions. Knowing how to plan an expo booth timeline means protecting the details that influence results: the location you book, the message visitors see, the quality of the build, and the team that is ready when the show doors open.
For marketing leaders, exhibitors, and procurement teams, the timeline is more than a project schedule. It is a control system. It keeps creative ambition aligned with venue rules, budgets, freight deadlines, and internal approvals. The earlier it is established, the more options you have. The later it starts, the more every decision becomes a compromise.
Start 9 to 12 Months Before Major International Shows
For large exhibitions such as GITEX, ADIPEC, Big 5, Gulfood, or major U.S. and European trade shows, begin planning nine to 12 months ahead. This is particularly important for custom stands above 100 square meters, double-decker structures, country pavilions, or booths that need international shipping.
Your first milestone is commercial, not creative. Confirm why you are exhibiting and what a good result looks like. Is the priority qualified leads, product launches, distributor meetings, brand awareness, or hospitality for existing clients? A booth designed for live demonstrations needs different space, power, staffing, and visitor flow than one built for private negotiations.
At this stage, lock in the event, stand size, position, budget range, and key stakeholders. A corner booth may offer better sightlines, while an island location gives a designer far more freedom to shape the visitor journey. Neither is automatically the right choice. It depends on your objectives, expected footfall, and the visibility your category demands.
Early planning also gives procurement teams time to compare scope rather than simply compare prices. A lower initial quote can become costly if it excludes permits, electrical work, rigging, furniture, graphics installation, storage, or show-site labor.
Build the Brief 6 to 8 Months Out
Once space is secured, turn strategy into a clear project brief. The strongest briefs are specific enough to guide the design team but flexible enough to allow a creative response. Share your brand guidelines, product priorities, campaign messaging, target visitor profile, required meeting capacity, technology needs, and any previous booth feedback.
This is also when operational facts must be put on the table. Ask about venue technical regulations, maximum build heights, hanging points, fire-rated materials, electrical loads, internet access, water connections, and accessibility requirements. For a multi-market exhibitor, the rules in Dubai, Riyadh, Las Vegas, Chicago, Mumbai, or Germany can vary substantially.
A dependable exhibition partner should flag these constraints before the concept is finalized. Design that cannot be approved or safely built at the venue is not a concept. It is rework waiting to happen.
Set Approval Owners and Deadlines
Many timelines fail because decisions do not have owners. Identify who approves design, copy, budget, legal claims, product specifications, and final graphics. Give each approval a realistic deadline and nominate one internal project lead who can resolve conflicts quickly.
If six departments need to approve every visual, build review time into the schedule. If your organization has a fast, centralized marketing team, you may be able to move faster. The point is not to force a generic timetable. It is to create one that reflects how your business actually makes decisions.
Design and Approve the Booth 4 to 6 Months Ahead
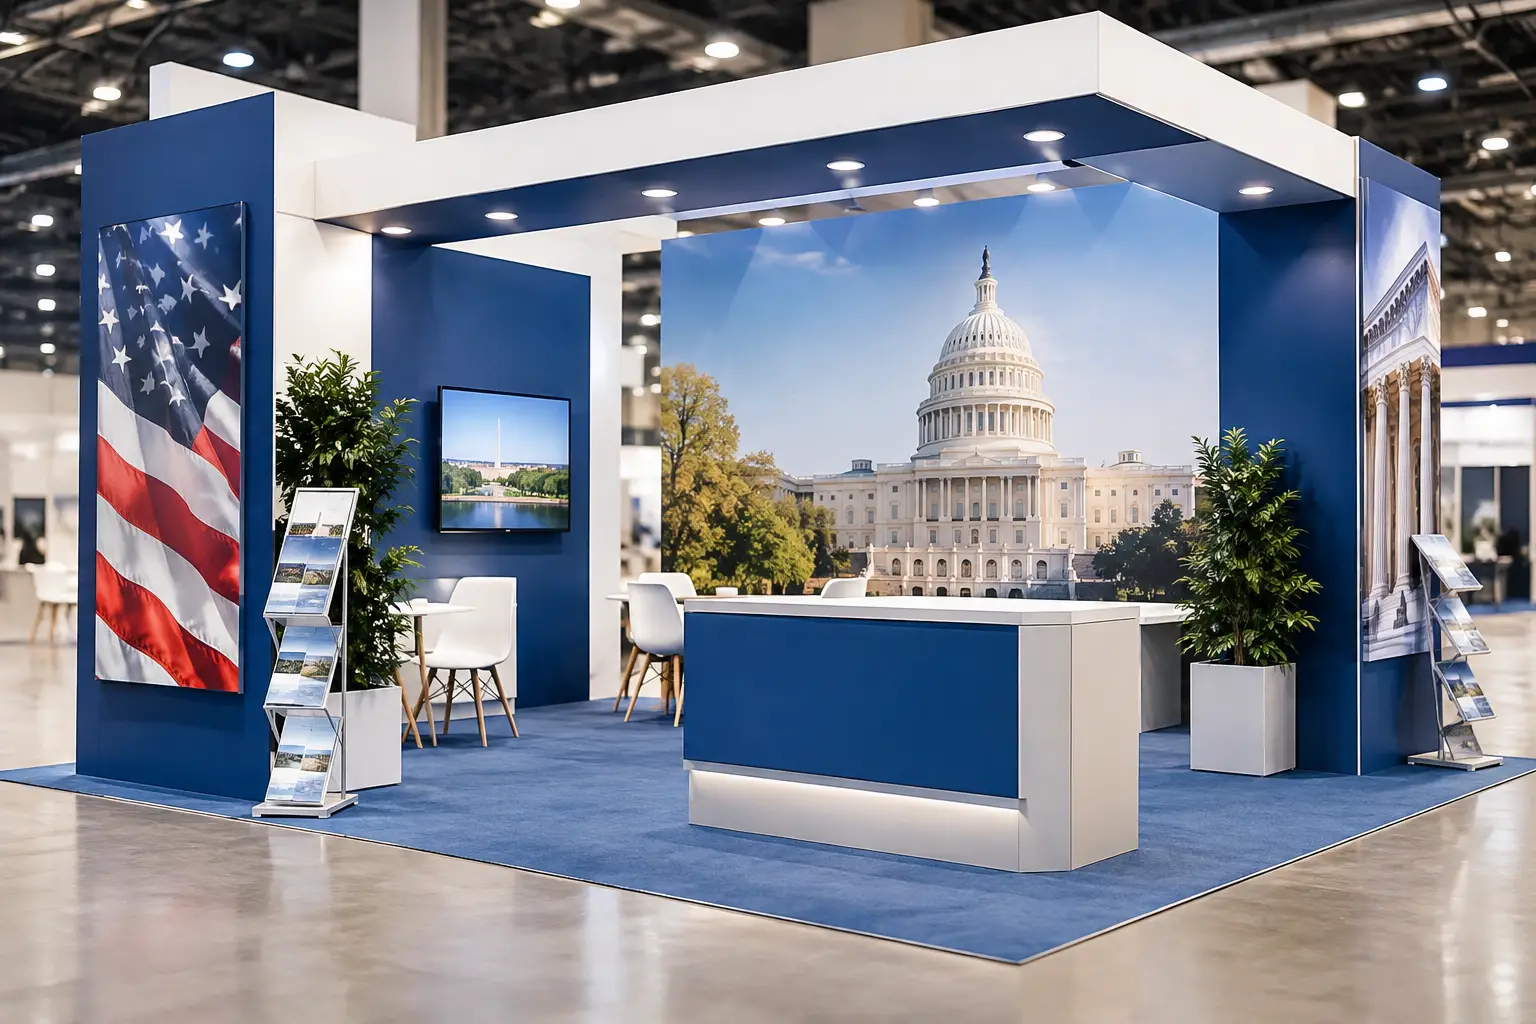
The design phase is where brand impact and execution discipline need to work together. Your 3D booth concept should show far more than an attractive facade. It should make the visitor experience visible: where people enter, what stops them, where products are displayed, how demos happen, and where sales conversations can take place without being interrupted.
Review the concept against practical questions. Can visitors understand your offer in a few seconds? Are your most valuable products easy to find? Is there sufficient locked storage? Can staff move from hospitality to meeting areas without crossing the main visitor flow? Does the lighting support your products, screens, and graphics?
For a double-decker stand or pavilion, structural engineering and venue submissions may need to begin even earlier. These formats create exceptional presence, but they also require more coordination around load calculations, approvals, emergency access, and installation time. They should not be treated like a standard shell-scheme upgrade.
Once the core structure is approved, finalize brand graphics, LED video wall content, interactive elements, furniture, flooring, and AV requirements. Late graphic changes are common, especially around product launches. Allow for them, but establish a final artwork deadline. Fabrication cannot be responsibly scheduled around an endless cycle of last-minute copy edits.
Fabrication Starts 8 to 12 Weeks Before Opening Day
For a custom booth, fabrication should begin when the design, technical drawings, and principal graphics are approved. Eight to 12 weeks is a sensible working window for many projects. Larger, more detailed, or overseas builds may require more time, particularly when specialty finishes, custom lighting, large-format LED, or complex engineering are involved.
This is the point where in-house production has real value. When design, fabrication, quality checks, and logistics are coordinated by one team, issues can be identified before they become site problems. A finish can be adjusted in the workshop. A cable route can be corrected before the floor is installed. A graphic can be reprinted before freight is loaded.
Ask for scheduled production updates, not just a promise that the booth is progressing. Photos, material samples, and pre-dispatch checks give marketing teams confidence that the built result will match the approved vision. For repeat exhibitors, modular components can reduce cost and waste, but only if they still support the current campaign and fit the new floor plan.
Lock Logistics and Show Services 6 to 8 Weeks Out
A great booth can still miss its moment because of an overlooked deadline. Six to eight weeks before the show, confirm freight arrangements, customs documentation, delivery windows, exhibitor badges, contractor passes, power orders, internet, cleaning, waste removal, rigging, and mandatory venue forms.
International logistics need additional care. Temporary import documents, product samples, batteries, food items, and promotional materials can all have different requirements. Do not assume a shipping plan is complete until responsibility for documentation, delivery, and return freight is clear.
For exhibitors in the UAE, Saudi Arabia, India, Europe, and the United States, local build capability can reduce transit risk and simplify show-site coordination. When a booth is fabricated close to the venue, you may gain flexibility. When it is shipped internationally, build in contingency time and confirm every handoff.
Plan the People, Not Just the Structure
Your expo booth timeline should include staffing preparation. Hostesses, sales teams, technical demonstrators, and senior leaders need a briefing on the booth layout, visitor qualification process, daily agenda, and escalation contacts. A premium environment loses value if the team cannot greet visitors confidently or capture follow-up details consistently.
Schedule a short pre-show walk-through or virtual briefing. Confirm dress code, product talking points, meeting schedules, lead capture tools, and who owns each shift. If you are serving refreshments or hosting private meetings, clarify replenishment and hospitality responsibilities as well.
The Final Two Weeks Are for Control, Not Reinvention
In the last two weeks, avoid major structural changes unless there is a genuine business reason. Focus on final artwork checks, product packing lists, staff schedules, exhibitor portal requirements, and a detailed on-site contact sheet.
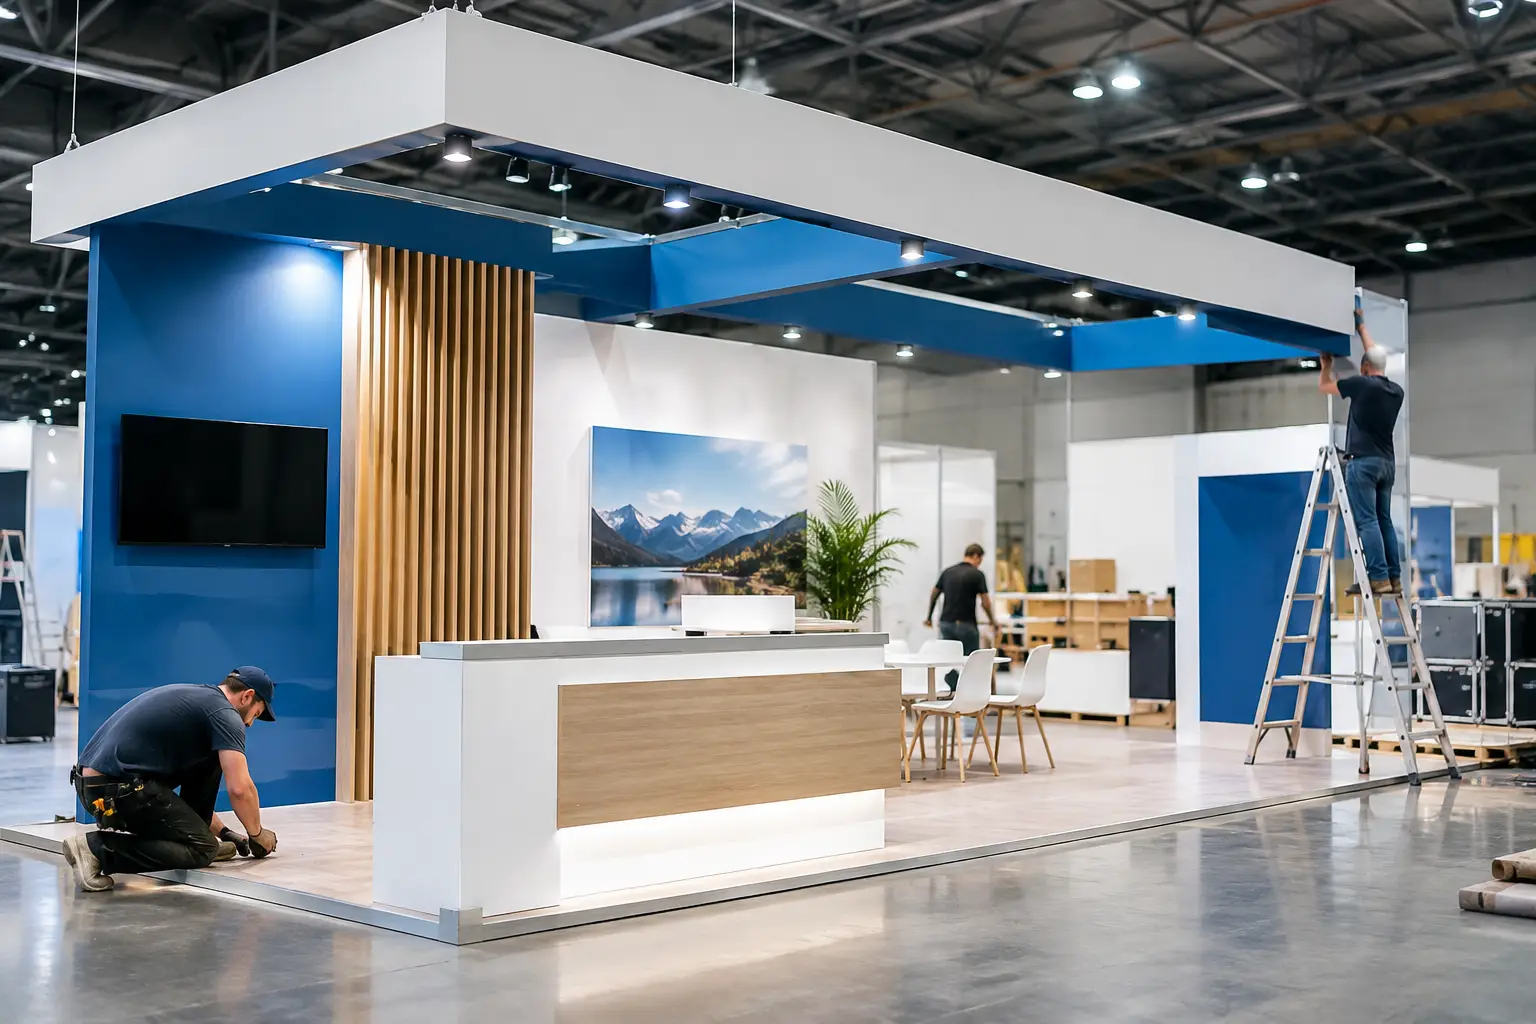
During installation, the project lead should verify key points before the booth is handed over: structural finishes, graphic placement, lighting focus, screen content, furniture, storage, power outlets, cleaning, and product displays. Photograph the completed booth before visitors arrive. These images help with internal reporting and make it easier to resolve any issues quickly.
An experienced build partner such as LemonTree Exhibitions coordinates installation and dismantling as part of the full delivery process, but the exhibitor should still assign one empowered decision-maker on site. Small choices move quickly during build-up, and waiting for a distant approval can cost valuable hours.
Work Backward From Opening Day
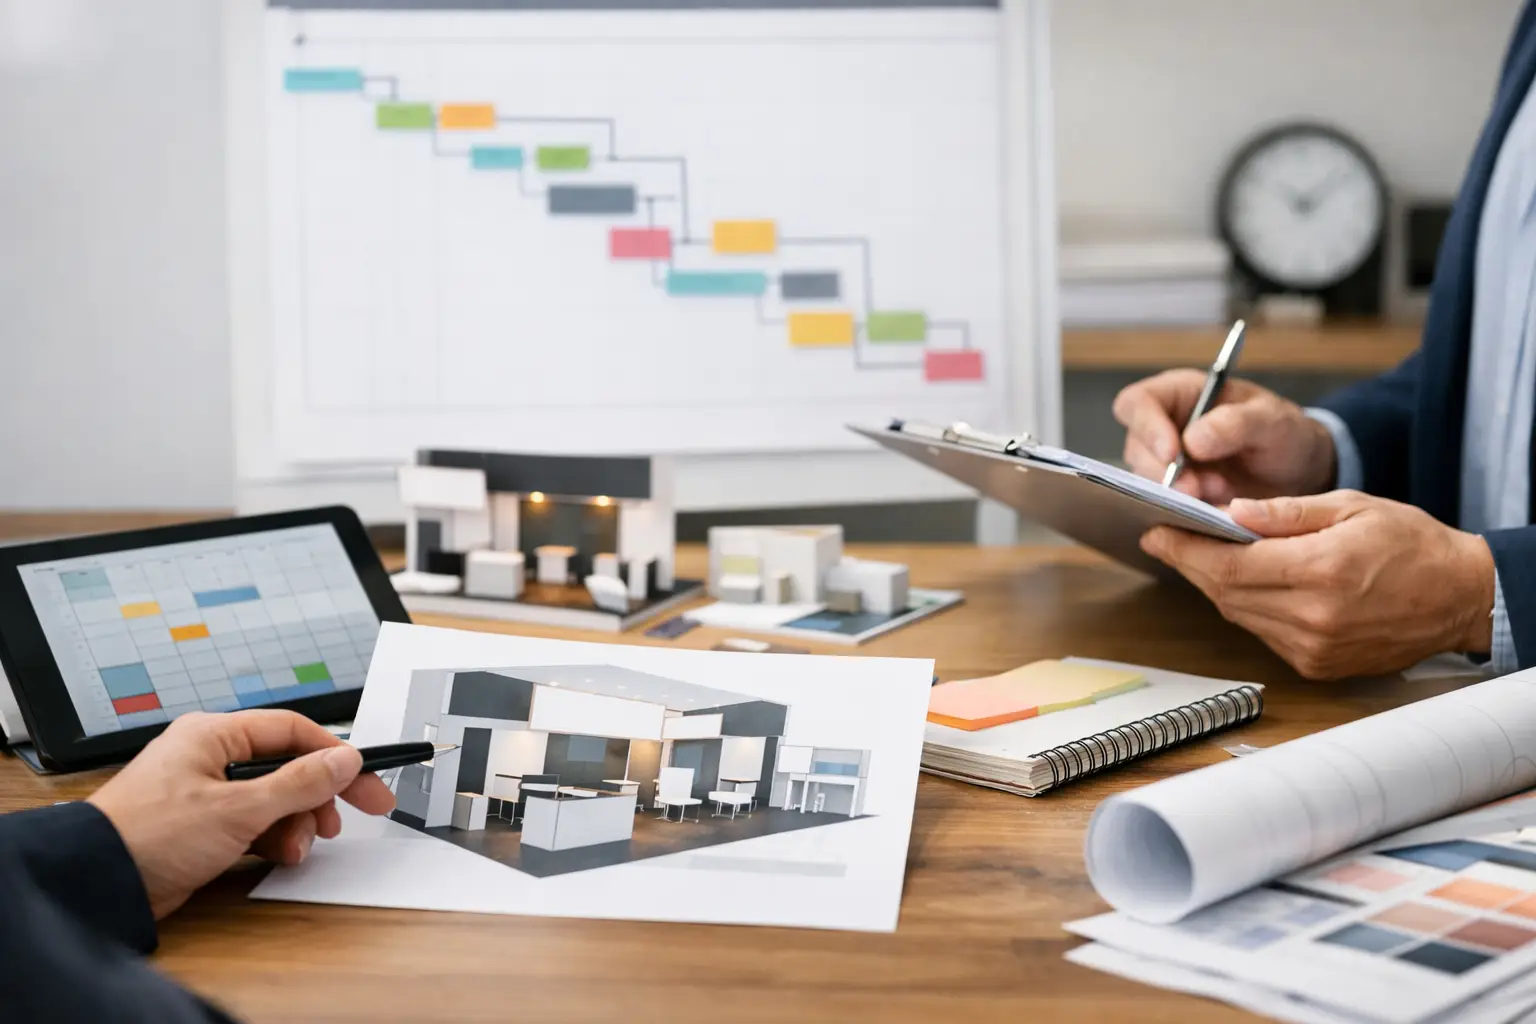
The simplest way to plan an expo booth timeline is to treat opening morning as fixed and work backward from it. First reserve time for installation, then freight, fabrication, technical approvals, design sign-off, and strategic briefing. Add buffers where uncertainty is highest, especially for international shipping, venue approvals, and executive reviews.
A compact 9-square-meter booth with standard components may be planned in a few weeks. A custom island stand may need several months. A country pavilion with multiple participating brands may need a year of coordinated decisions. Starting early is not about making the process slower. It is how you give your team room to be bold without placing delivery at risk.
The best timeline leaves no room for panic, but it leaves plenty of room for purposeful choices. When every milestone has an owner and every handoff has a deadline, your booth can arrive as it was meant to: finished, functional, and ready to earn attention.