

A trade show stand has a short window to earn attention and an even shorter one to start a useful conversation. That is why an exhibition stand design process guide should begin with commercial intent, not color palettes or furniture catalogs. The strongest stands are built around what your team needs to achieve on the show floor: qualified leads, product demonstrations, distributor meetings, brand visibility, or a credible market entry.
For marketing teams and event procurement leaders, the process is also about control. A bold concept has little value if it cannot be approved by the venue, fabricated to the right standard, delivered on schedule, and installed without last-minute surprises. Good exhibition design brings creative ambition and operational discipline together from day one.
Start With the Brief, Not the Booth
Every effective project starts by defining the event’s role in the wider marketing plan. Is the exhibition a lead-generation opportunity, a platform for a product launch, a chance to meet existing customers, or a high-stakes visibility moment beside major competitors? The answer affects the layout, the staffing plan, the technology, and the budget.
A useful brief should establish the stand size and open sides, venue and show dates, target audience, key messages, products to display, and practical needs such as storage, hospitality, meeting rooms, or demo areas. It should also identify decision-makers and approval milestones. This prevents a common problem: a design that looks impressive in a presentation but does not support how the sales team actually works.
For example, a technology company demonstrating complex software may need semi-private demo stations, strong screen visibility, and controlled visitor flow. A machinery manufacturer may need clear product sightlines, load-bearing considerations, and space for technical discussions. A government pavilion has a different responsibility again: it must create a consistent national identity while giving multiple participating companies fair visibility.
Turn Objectives Into a Visitor Journey
Once the brief is clear, the design team can map the visitor experience. The goal is not to fill every square foot. It is to make each area work.
Most high-performing stands guide visitors through three stages: notice, engage, and convert. From the aisle, the architecture, lighting, messaging, and elevated branding need to make the stand recognizable within seconds. At the edge of the space, product displays, live demonstrations, or a digital feature should give people a reason to stop. Deeper inside, meeting areas and hospitality zones support meaningful conversations.
This is where trade-offs matter. An open stand can feel welcoming and increase footfall, but it offers less privacy for senior meetings. A large LED video wall creates presence from a distance, but it should not compete with the people or products that need attention. A double-decker stand adds usable space and elevated brand impact, yet it requires a larger investment, venue approval, and careful planning for structural safety and visitor access.
The right answer depends on your goals, audience behavior, and footprint. A dependable partner will challenge assumptions early rather than simply agreeing to every requested feature.
Create a Concept That Is Buildable
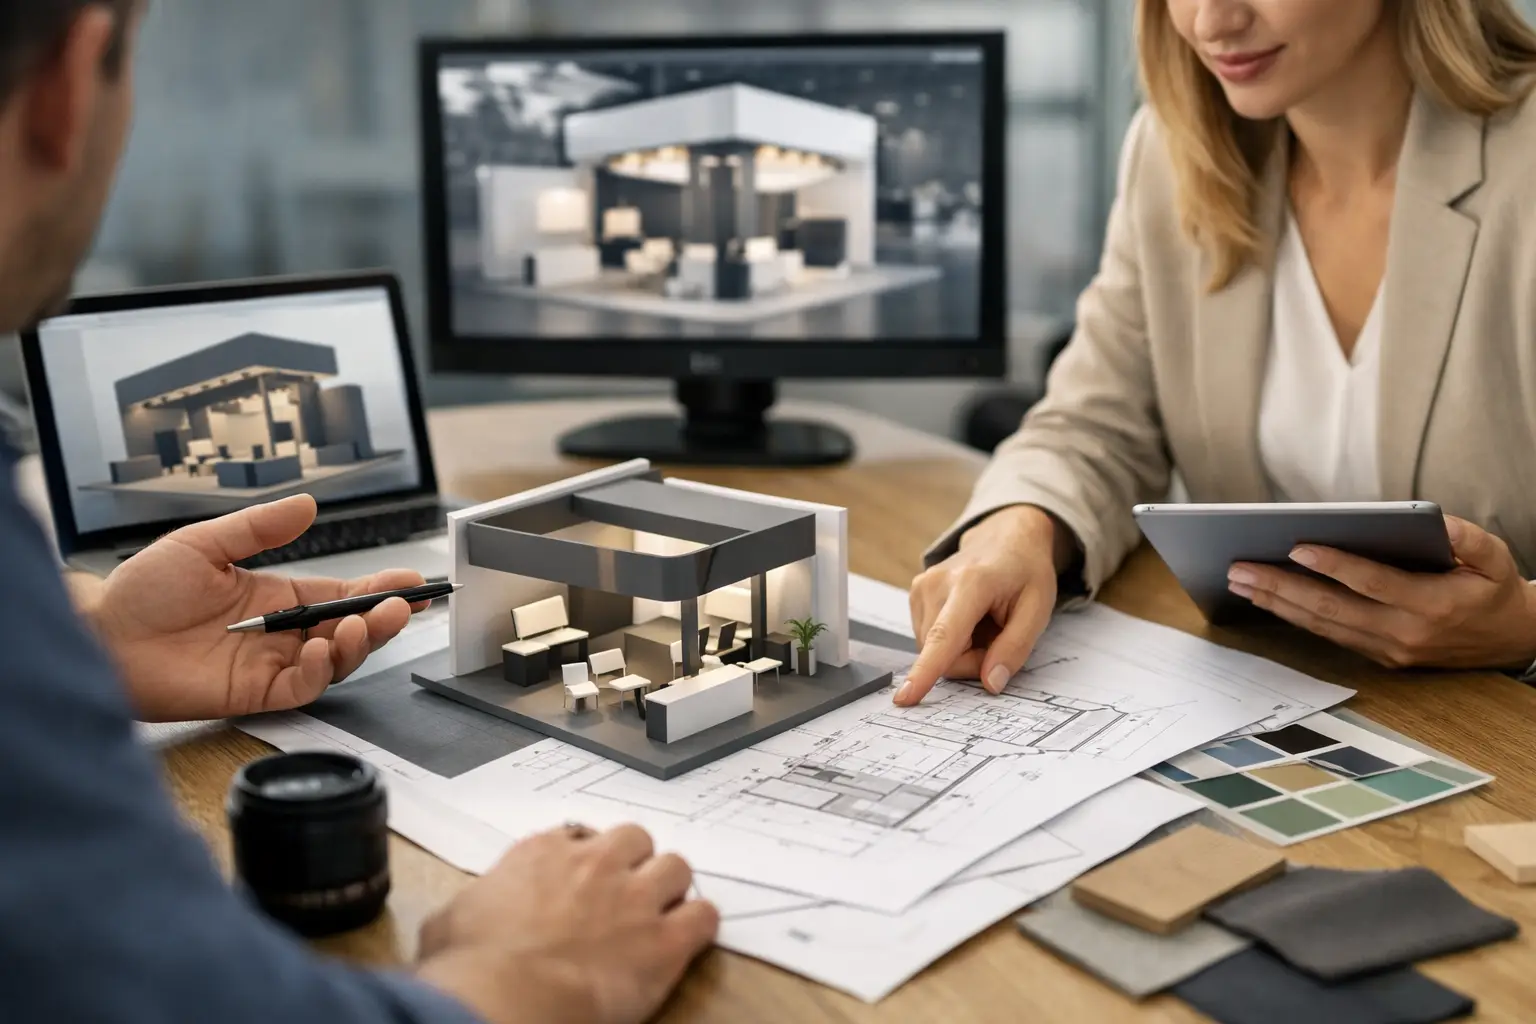
The concept stage is where brand strategy becomes a physical environment. Designers translate your visual identity into structure, materials, colors, graphics, lighting, furniture, and technology. A free 3D concept can be especially valuable because it allows stakeholders to see circulation, scale, and sightlines before fabrication begins.
At this point, ask practical questions alongside creative ones. Can visitors immediately understand what the company does? Are key messages readable from the main approach routes? Does the design offer enough room for the expected number of staff and visitors? Will the product remain the hero, or is the architecture taking over?
A compelling concept should also be designed for the specific venue. Ceiling heights, rigging options, column positions, fire regulations, electrical points, and neighboring stands all influence what is possible. What works at GITEX in Dubai may require adjustment for a hall in Las Vegas, Chicago, Mumbai, or Germany.
Design for Brand Recall, Not Decoration
Premium design is not about adding more finishes. It is about choosing the right focal points. Strong brand colors, a distinctive overhead element, purposeful lighting, and one clear message often create more recall than a stand crowded with graphics and competing screens.
Material choices deserve the same discipline. Reusable components, durable flooring, modular displays, and repurposed elements can reduce waste and improve value across multiple events. Sustainability is most useful when it is planned into the build, rather than added as a last-minute claim.
Engineer the Details Before Production
A visual concept is only the beginning. Before the workshop starts, the stand needs technical drawings, structural planning, electrical layouts, graphic production files, material specifications, and a clear build schedule. This is the stage that protects the design from becoming expensive, delayed, or compromised.
Venue paperwork and approvals are equally important. Exhibition organizers may require structural calculations, fire-retardancy certificates, height approvals, rigging plans, insurance documents, and health and safety information. Missing one submission deadline can affect installation access or lead to avoidable on-site charges.
For international exhibitors, logistics should be addressed early. Shipping methods, customs documentation, local labor rules, and delivery windows vary by country and venue. Managing design, fabrication, logistics, installation, and dismantling through one accountable team reduces handoffs and gives the client a clearer line of responsibility.
Fabricate With Quality Control Built In
The fabrication stage turns approved drawings into a real brand environment. In-house production gives project teams closer control over finish quality, material availability, timelines, and changes requested during the final weeks before the event.
Before dispatch, the stand should be checked against the approved design and technical plan. Graphics need color and resolution review. Joinery, paint finishes, lighting, AV equipment, furniture, and hardware should be inspected as a complete system, not as disconnected items. Where possible, a pre-build or partial assembly in the workshop helps identify issues before the venue clock starts running.
This attention to detail matters most on complex projects. A country pavilion with multiple exhibitor zones, a double-decker structure, or a large product launch environment has more interfaces to coordinate. Quality control is not simply a final inspection. It is a process that begins with accurate drawings and continues through packing, transport, and installation.
Install for Opening-Day Confidence
The venue build-up is where planning becomes visible. A professional installation team works to the approved schedule, coordinates with organizer requirements, manages electrical and AV connections, places graphics precisely, and completes final cleaning and styling before handover.
Clients should plan their own readiness alongside the stand build. Product samples, brochures, lead-capture tools, staff uniforms, demonstration content, and meeting schedules should arrive with enough time for testing. If fair hostesses or event staff are part of the activation, they need a clear briefing on the brand, visitor qualification criteria, and escalation process.
A final walkthrough should test more than appearance. Check every screen, light, power point, storage lock, product display, and meeting area. Stand at the aisle and assess whether the main message is visible. Walk the visitor route as a prospect would. Small adjustments at this stage can improve the first impression substantially.
Measure What Happened After the Show
The exhibition stand design process does not end at dismantling. To judge performance, compare results against the objectives set in the original brief. Lead volume matters, but lead quality, meetings held, demonstrations completed, media visibility, and follow-up conversion often provide a more useful view of return on investment.
Gather feedback from sales staff while the experience is fresh. Which areas attracted visitors? Where did conversations naturally happen? Did the layout create bottlenecks? Were there enough private meeting spaces? These insights make the next stand more effective and help identify components that can be reused or refined.
LemonTree Exhibitions approaches this work as an end-to-end responsibility, combining 3D design, controlled fabrication, logistics, installation, and dismantling for clients exhibiting across global markets. The value is not just a striking stand. It is the confidence that the details behind it are being managed with the same care as the design.
The best next step is simple: before approving a concept, ask whether every major feature has a job to do. If it helps visitors notice, understand, engage, or meet with your team, it earns its place. If it does not, use that space, budget, and attention where it will create a stronger result.